If you are having issues with crooked prints, there are a few things you can do.
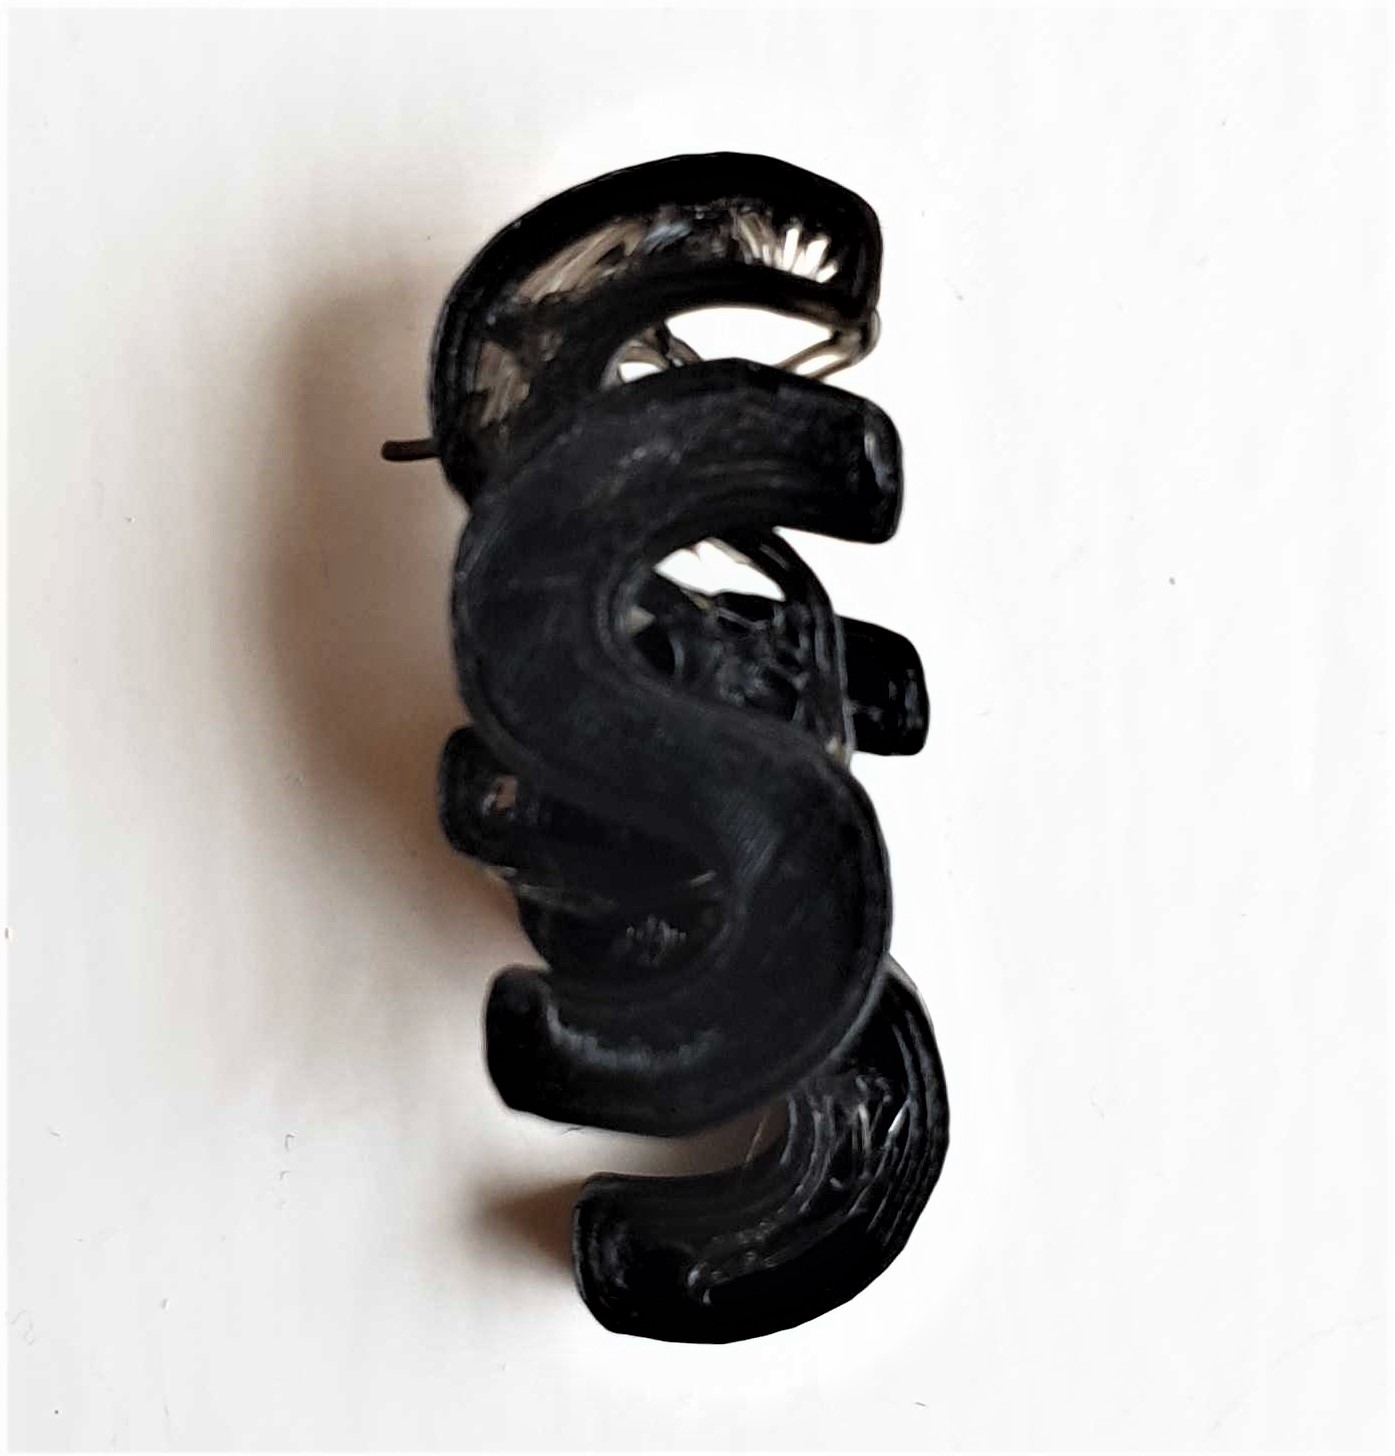
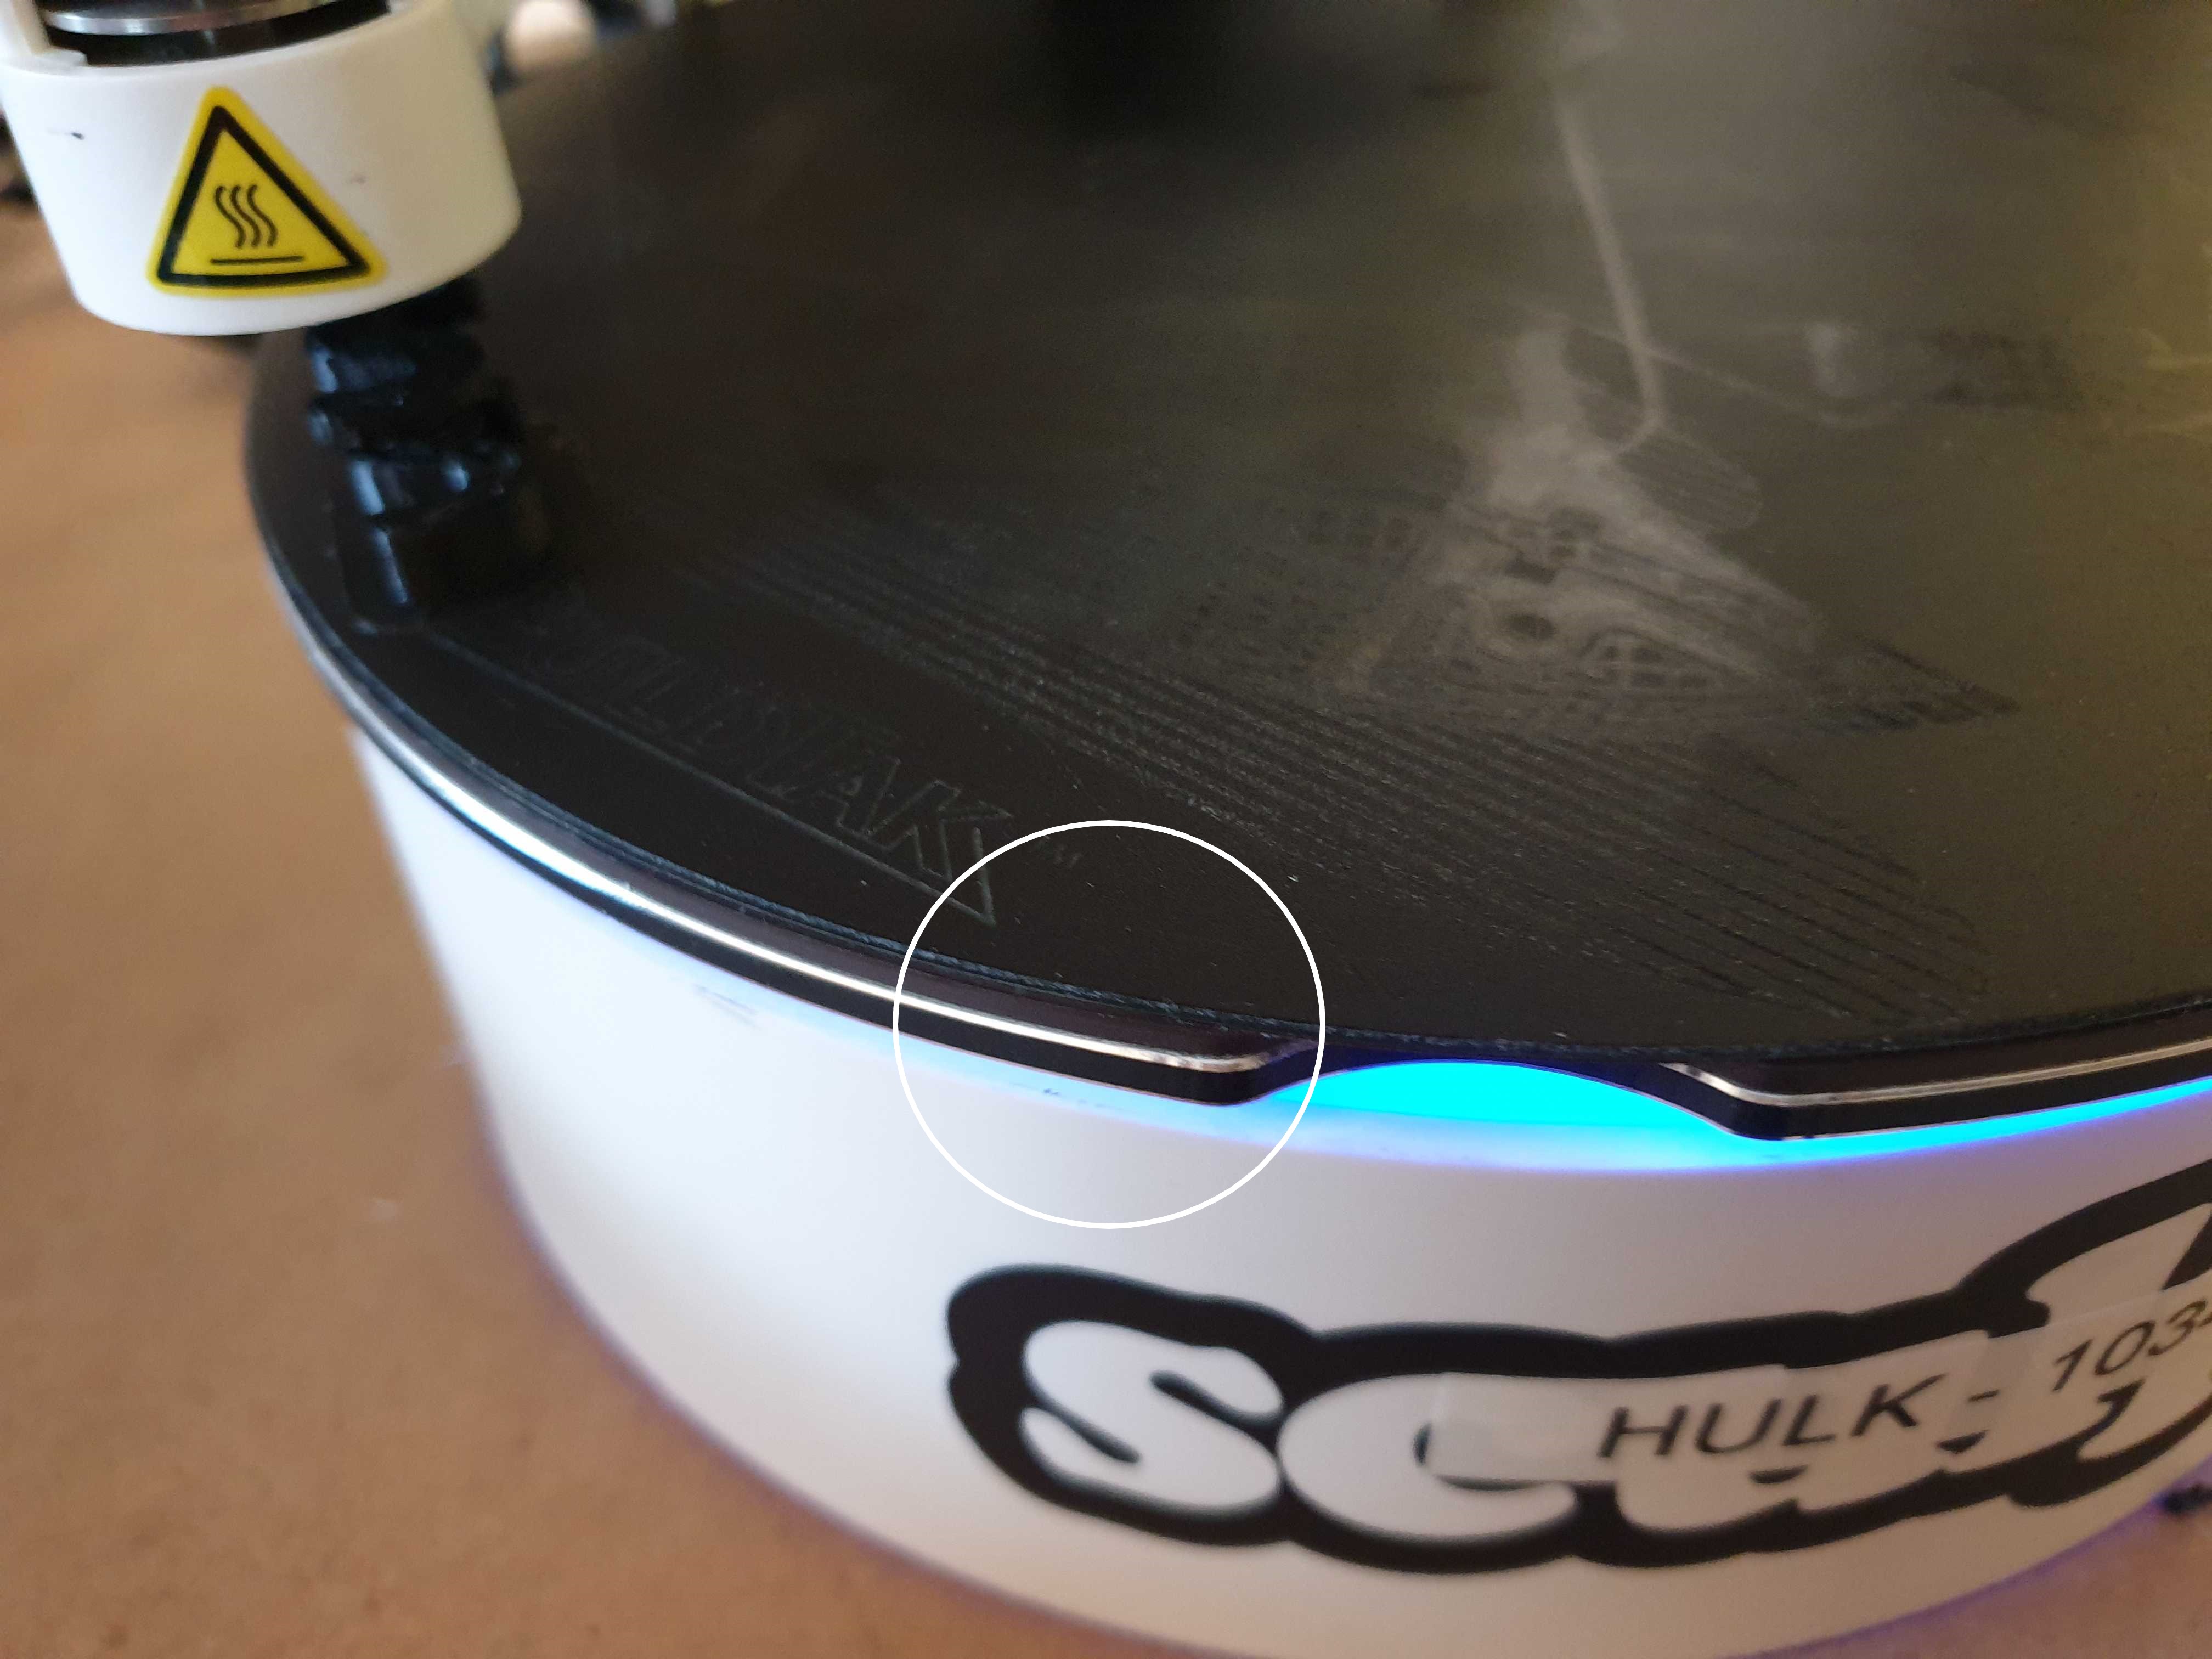
- First we suggest checking that the flexible build plate is carefully lined to the base plate before printing. If the top plate is not lined correctly and is sticking over the edge, this can cause the plate to hit the metal rods during a print, which will result in a crooked print.
- See the photo underneath - here the top plate is not placed correctly.
If you have checked that a misplaced top built plate is not the cause of the crooked print then proceed to next step:
Tightening the screw on the motor that rotates the plate
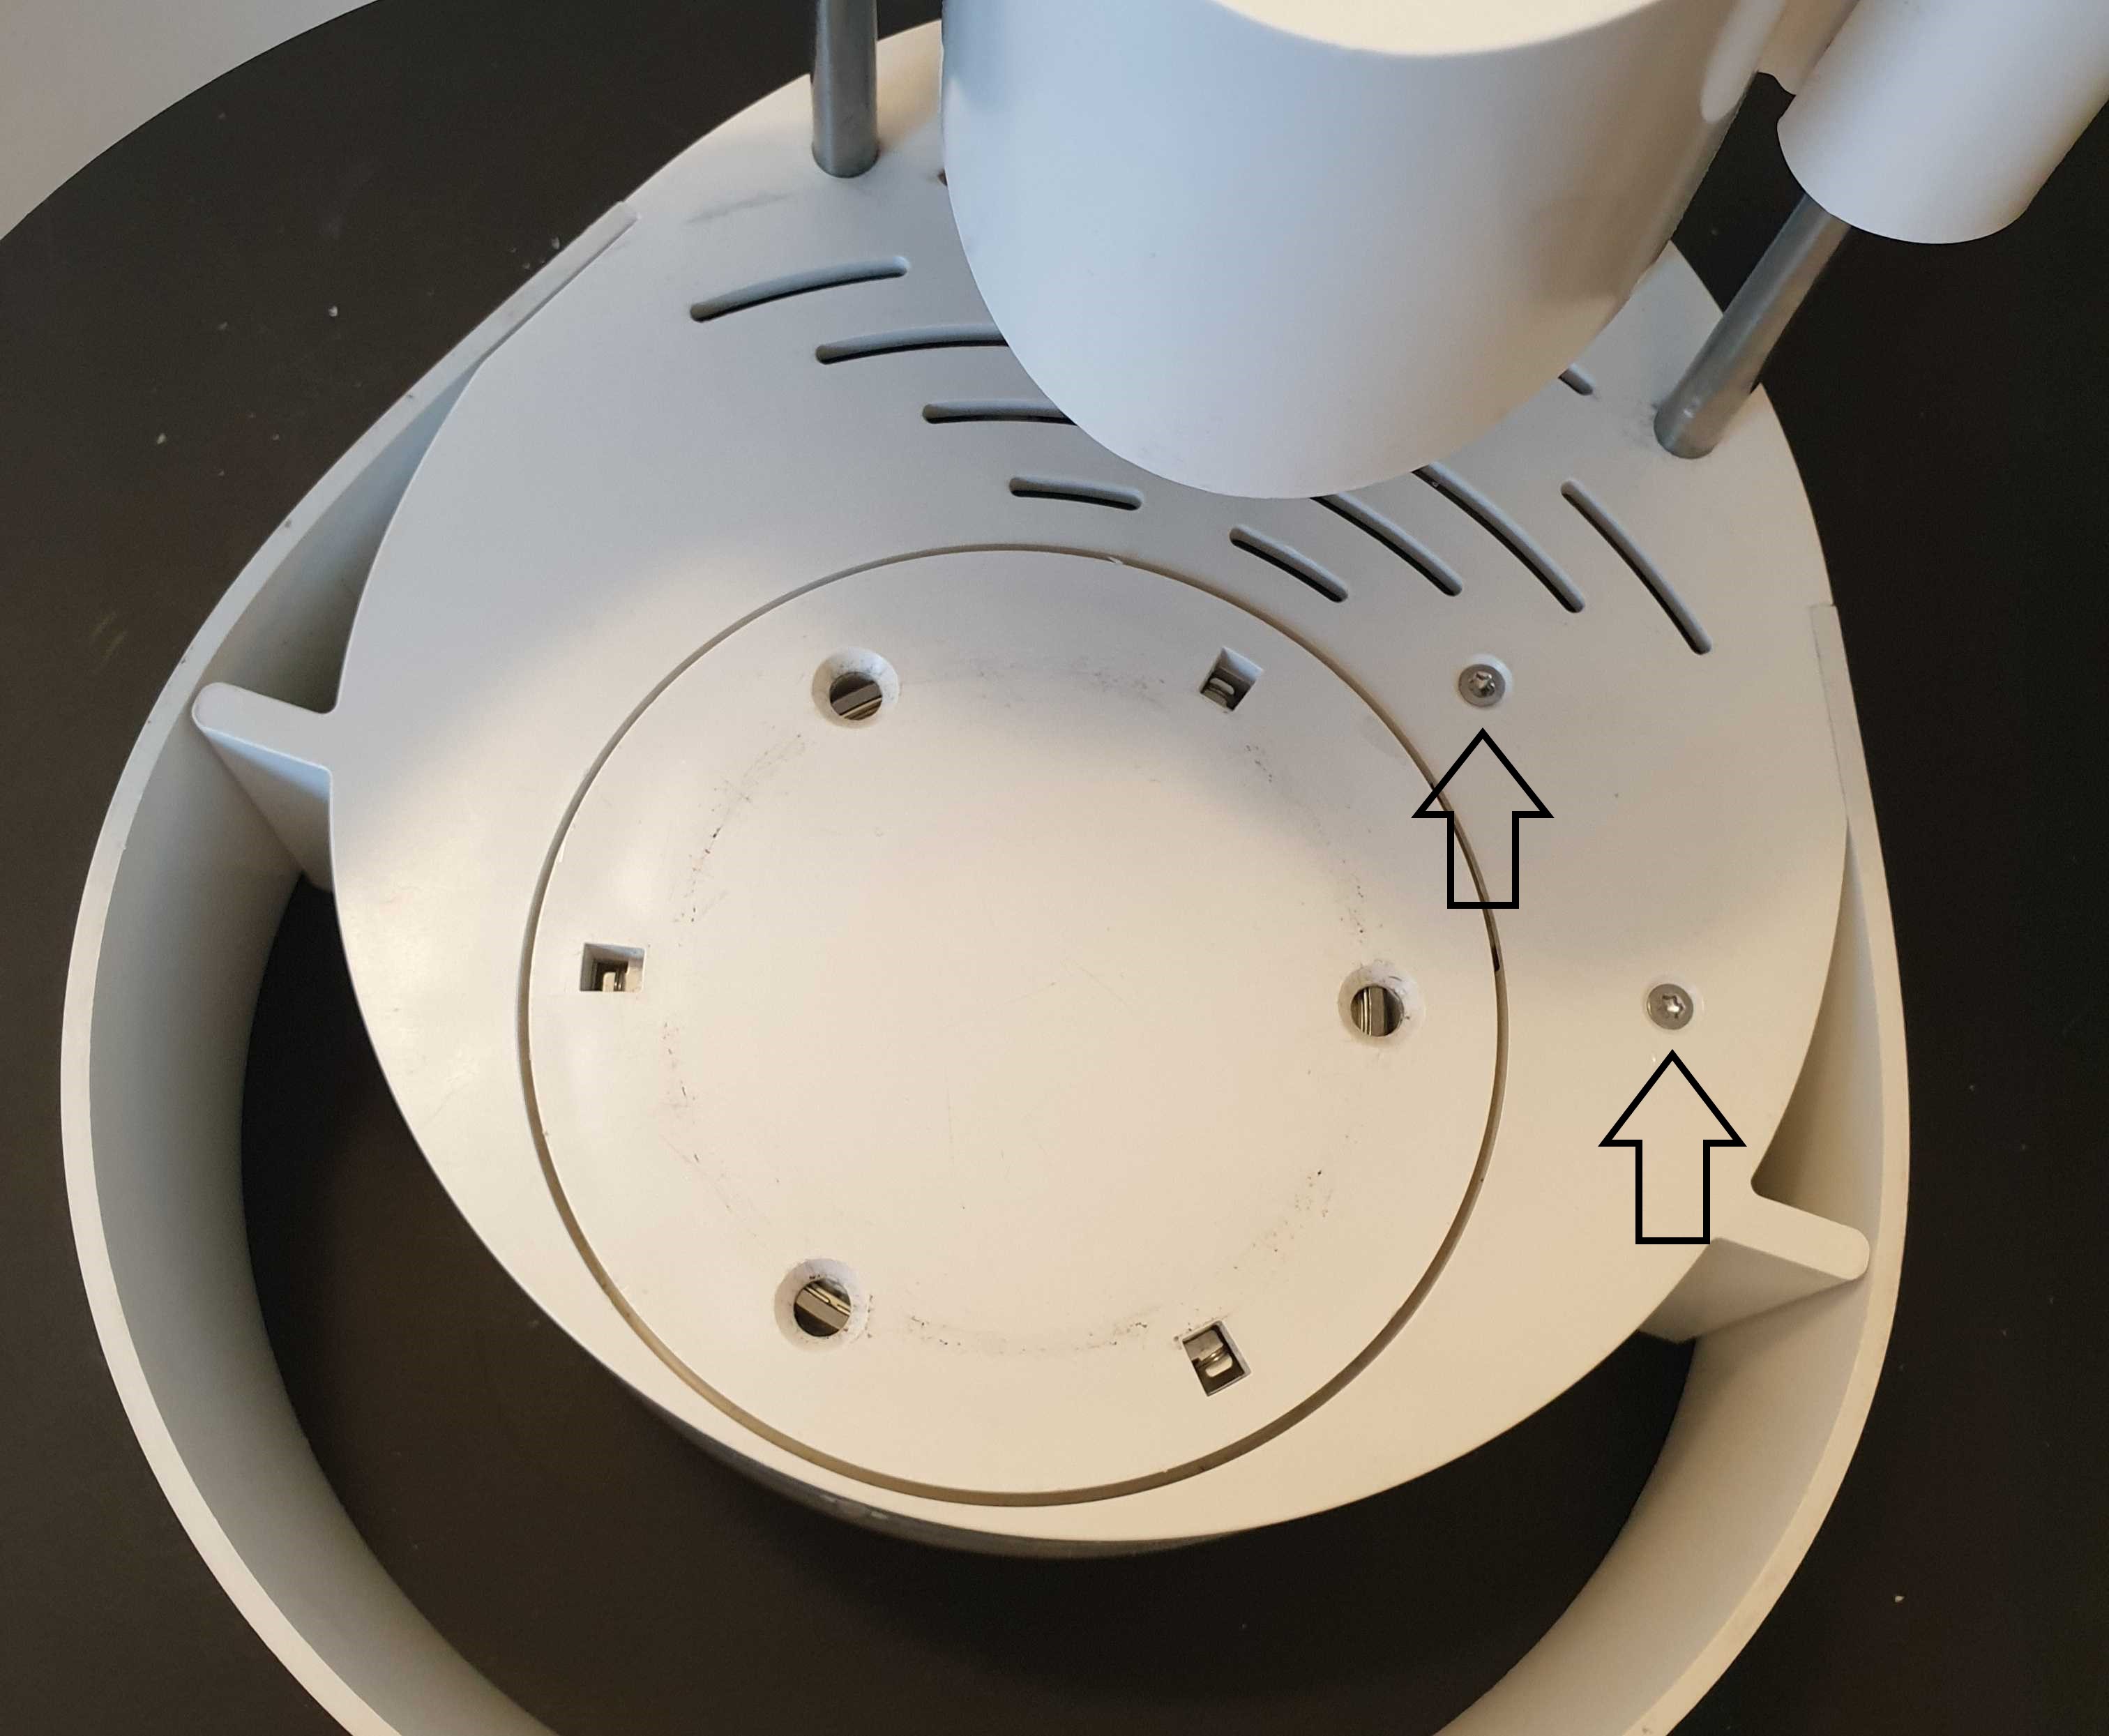
- Remove the built plate to access the two screws that holds the stepper motor. (See screws below)
- Unscrew the black bottom plate and unscrew the two screws marked in the photo below.
- You will now see that the motor below is loose. Tighten the small screw as much as you can that is on the motor (see photo below)

- To reinsert the motor you need to first push out the white round plate from underneath. You can see the gears from the white plate from underneath. Push on these gears to pop out the plate.
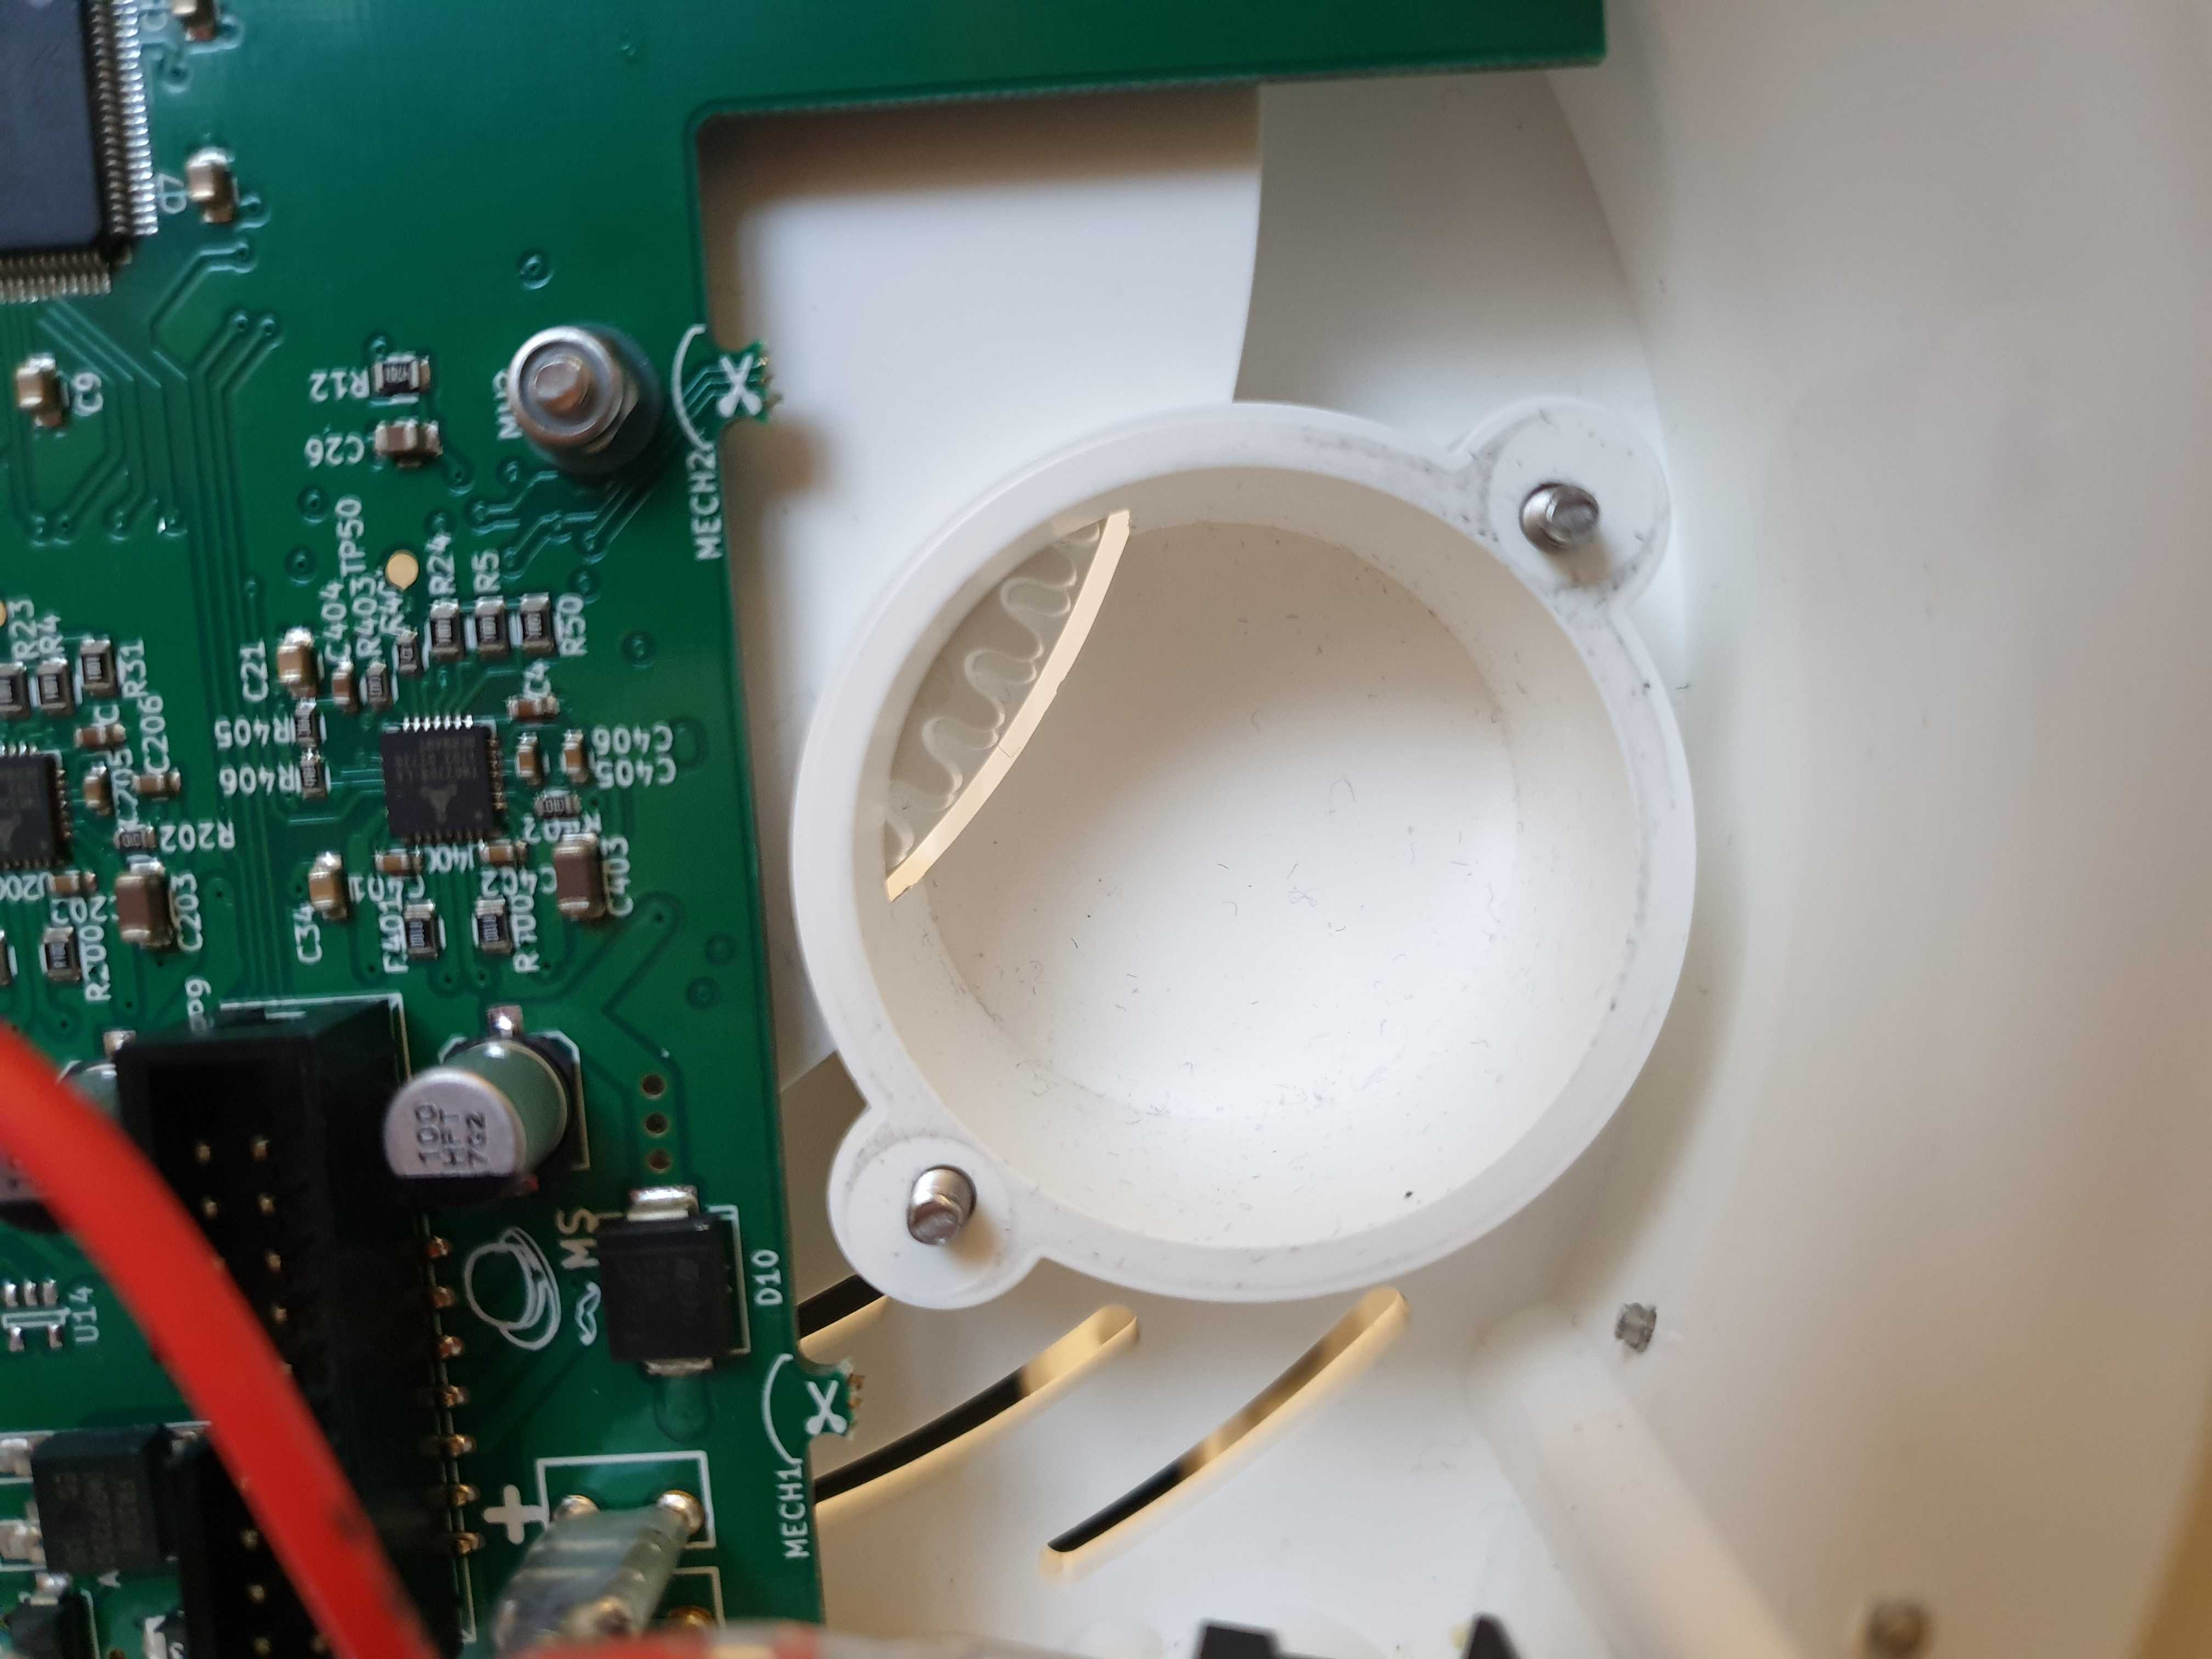
- Screw back the motor.
- Twist the white disc as much as you can and make the gears align.
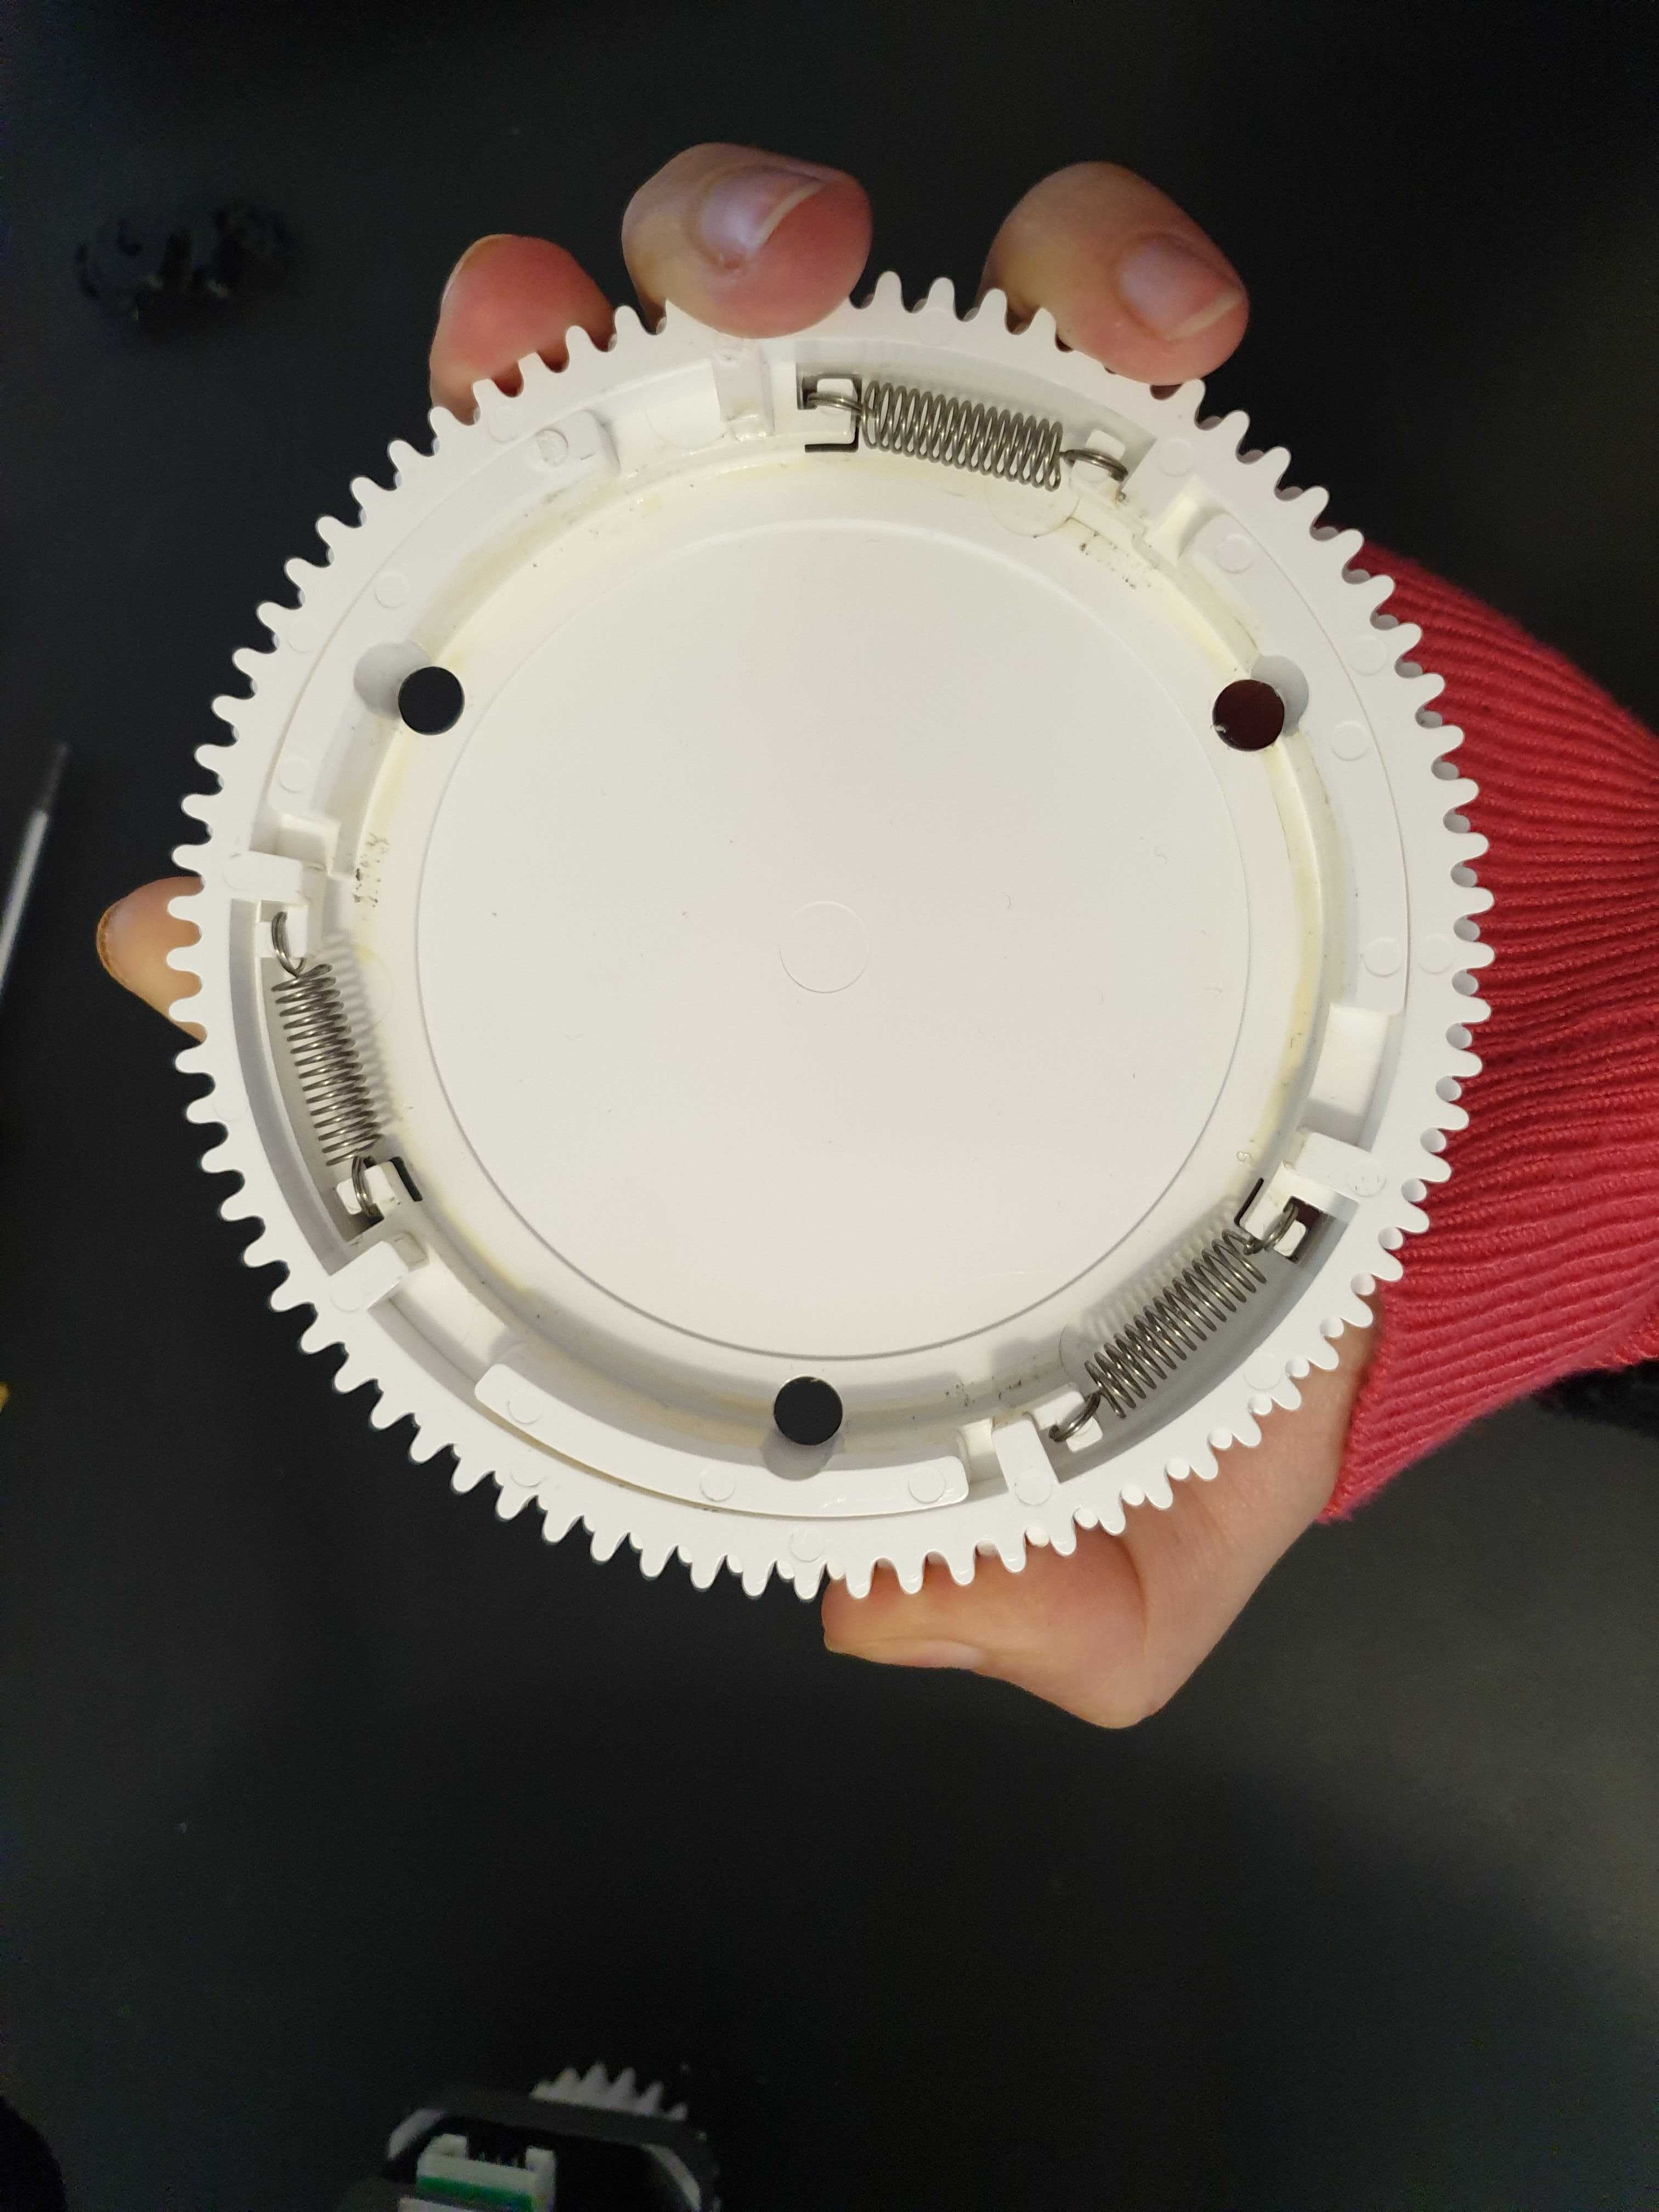
- While keeping the tension in the disc and the gears aligned, push down the disc so it hooks together with the gears of the motor.
- Press down and make sure that the white disc is firmly placed and level.
- Do a test print to see if this fixed the issue.

Comments
0 comments
Please sign in to leave a comment.